Naja, dachte ich, das schaue ich mir mal an....
Und hier sind sie:
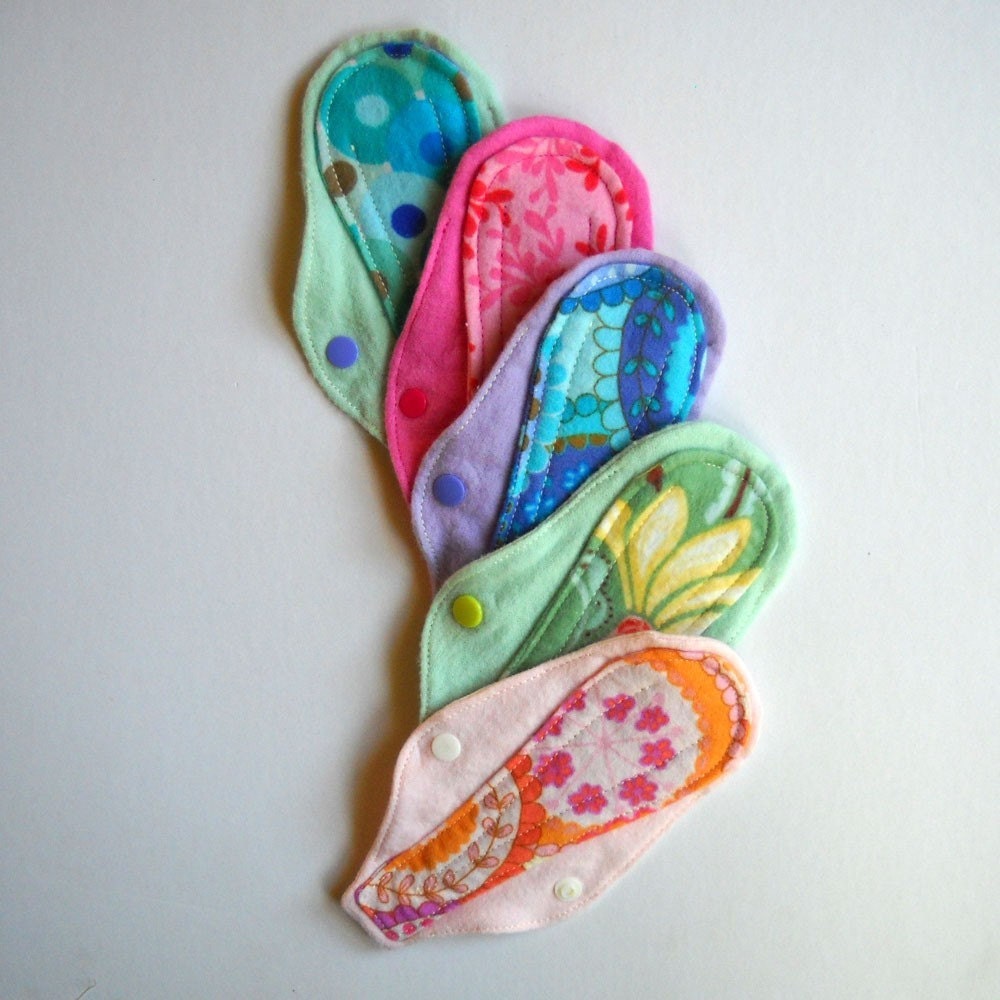
http://www.etsy.com/search_results.php?search_type=tag_title&search_query=menstrual%20pads
Und hier ist beschrieben, wie man sie designt....(siehe unten)
Aber das mit Druckknöpfen ist nicht so leicht und man kann sie auch verschenken -
weil in armen Ländern hat man das nicht im Aldi.
Überlege mir das... billiger wäre es schon, aber die Wascherei würde mich wohl nerven..
Wenn mir jetzt noch Bio-Bauer erzählt, dass er am liebsten mit der Waschbrühe seine Paprika damit giesst, dann lese ich die Annoncen nicht mehr.. !!!!!!!!!!! Nie mehr!
Hier ist beschrieben, wie man sie selbst macht, leider nur in Englisch....
http://www.labyrinth.net.au/~obsidian/clothpads/draftpat/patterndrafting.html
It really isn't that hard to make your own pattern for a cloth pad. Its even easier if you have a rough idea of what you want and a pad (even a disposable one) to use as a guide. I'll show you how to do it.
First - get an idea of what you want. If you are currently using disposable pads, take one out of the pack and have a look at its shape. Then think of how different you would like it to be. Would you like it longer? shorter? Wider at the back? etc. If you have cloth pads you can do likewise with the ones you have.
So... with an idea of what you want... get some pieces of paper, a ruler, a pencil/pen and any pads you want as inspiration.


 |   Take your piece of paper (which needs to be as long as your pad will be, so if a sheet of writing/computer paper isn't long enough - stickytape another sheet to it to make it long enough), and fold it in half, so that the fold is on the longest side. |
 |
  Mark on your paper the length of the pad (including the seam allowance). Just use a mark at the end - you won't need to draw the line right across. Then cut any excess paper off. |
Now you need to work out the width the pad at the front and back. Again, measure an existing pad to get an idea. Divide that number in half and mark that number from the fold line.
  |
  |
 Work out the width you want the crotch to be (the narrowest point of the pad) Generally you'll want this measurement to be a lot narrower than the front and back of the pad. Something around 6-8cm or 2.5-3inches is probably good. Half that number and mark it on the middle fold. So your paper should now have 3 marks on it.. Front, Crotch & Back. |
Next is to work out the wing. This can take a bit of trial and error to get right. Basically from the fold line to your wing mark needs to be a little longer than twice what your foldto crotch mark is - because you need space for the wing to overlap to put the snaps/button/velcro on.
| So if your crotch point is measured 3.5cm (1.5in) from the fold, mark a wing point above this at about 6-7cm (2.5in) from the crotch mark, which should give enough overlap for 2 snap settings & seam allowance. This measurement defines what the pad width will be. If this is too short, the wings will pull the pad too far in, and you might get bunching... too long and it won't pull the pad in enough, and the crotch will end up being wider than you planned. |
 |
Now you want to mark the line from the wing down to the front. Experiment with the curve. A good place for it to connect to the pad is between the crotch mark and the front mark. The wing can be any shape you like - remember though that you're actually drawing only half the wing, and you'll need to account for the seam allowance here, (of about 1cm (1/4 inch)) |
  Because this pad will have the front and back the same, just fold your paper in half, and cut along the wing line then to the front of your pad. When you unfold it, you should get something like this (with the fold still on the long side of the piece of paper), and it will be exactly the same each end and symmetrical. |
 |  |  |  |
All done! Sew one up and see how it goes. Make only one, if it works, then go back and make more. That way if it's not right, you can change your pattern and try again. Have fun and experiment with different shapes. A slight variation on the way you make your curves can result in all manner of pad shapes. The way the front and back shape goes, and the shape of the wing are important in how different the end result will be - and if you are using a pad as a guide for your pattern, use those areas to make your pad shape look different to the other one. You don't want to be copying it exactly!

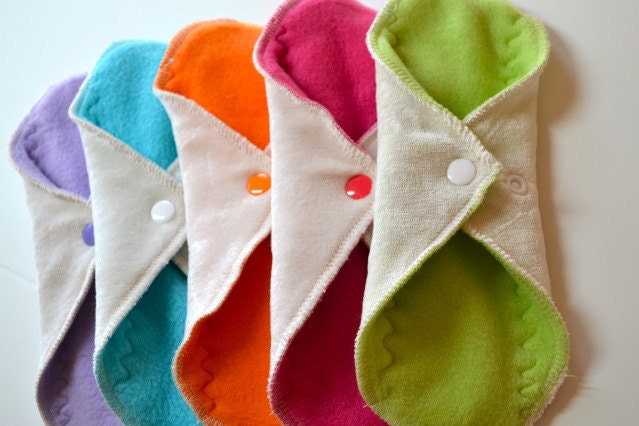
See how different pads can look just by changing the shape of the wing! and by changing the overall shape of the pad, you can get all sorts of nifty and interesting pad shapes. Let your imagination go wild!
Remember though that some shapes are a lot easier to sew than others!
Also, the shape of a pad will also be determined by its size. A smaller pantyliner type sized pad will have the wings taking up most of the pad, and central (even distance from front and back). A longer pad will possibly be up to about 1/3 of the pad being wing, and again, wings central. But a long Night type pad, will generally have a longer and wider back, with the wings more towards the front, because the back is longer.

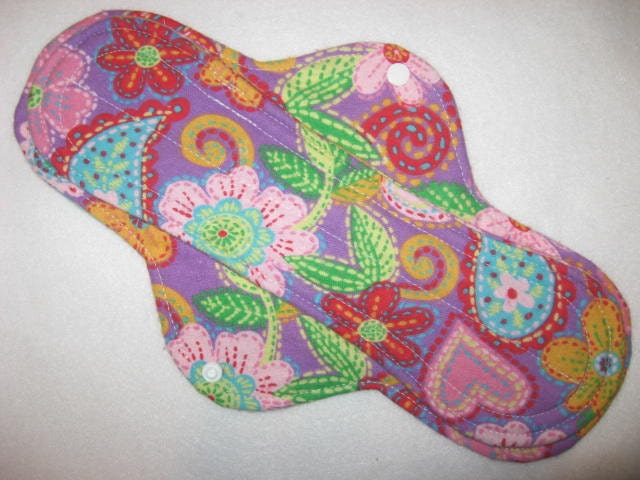
Making a pad with a wider or longer back section
This is basically the same as above... but you have to remember to cut it out differently.
Firstly, you need to find where the centre point of your pad will be - if making a longer backed pad, this will not be in the centre of your paper (which you'll have to join 2 pieces of printer paper for, or use baking paper or something). Basically the wings on a pad will naturally shift to the narrowest part of your crotch - directly below where your vagina is. So you can work out that for the front of the pad to be where you would like it to be, it has to be a certain distance from there. I find about 12cm, (4 3/4inch) to be good (from the fold line of the centre of your paper)... or even a bit more. So your fold for your crotch mark will be off centre in a long pad pattern. Once you have that - mark your back (generally in a long pad, this will be wider than the front. Mark your curved lines to make the pad shape, and your wing.
  This shows how the pad pattern will be off centre on a longer pad. So you can't just cut it out like you did for the shorter pad, otherwise you'll be cutting the back out the same as the front. Only mark half your wing though, as this we will cut on the fold. |
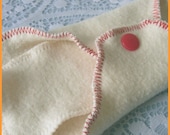
| So, cut your wing on the fold, just until the point where it joins onto the pad. Then stop cutting! unfold the pattern and you should have something looking like the pic on the right (click it for a larger view). You can *just* make out that I've cut the wing only. |
Then continue cutting out the front and back along the marks you made. This way your wing will be symmetrical.
  So after cutting out, and rounding the corners, your pad should look something like this, with the back end wider and longer than the front end - with prefectly even wings. |
Keine Kommentare:
Kommentar veröffentlichen